Over the past decade or so of smoking a pipe, I have learned how to do it correctly, and not surprisingly, the usual “lore” is half-right and half the chatter of talking monkeys with car keys who are each trying to sound clever and consequently refuse to concern themselves with the factual accuracy of their statements.
Here are some basic notions about pipe-smoking which might help you adopt the practice, which is somewhere between a hobby, habit, and best practices method:
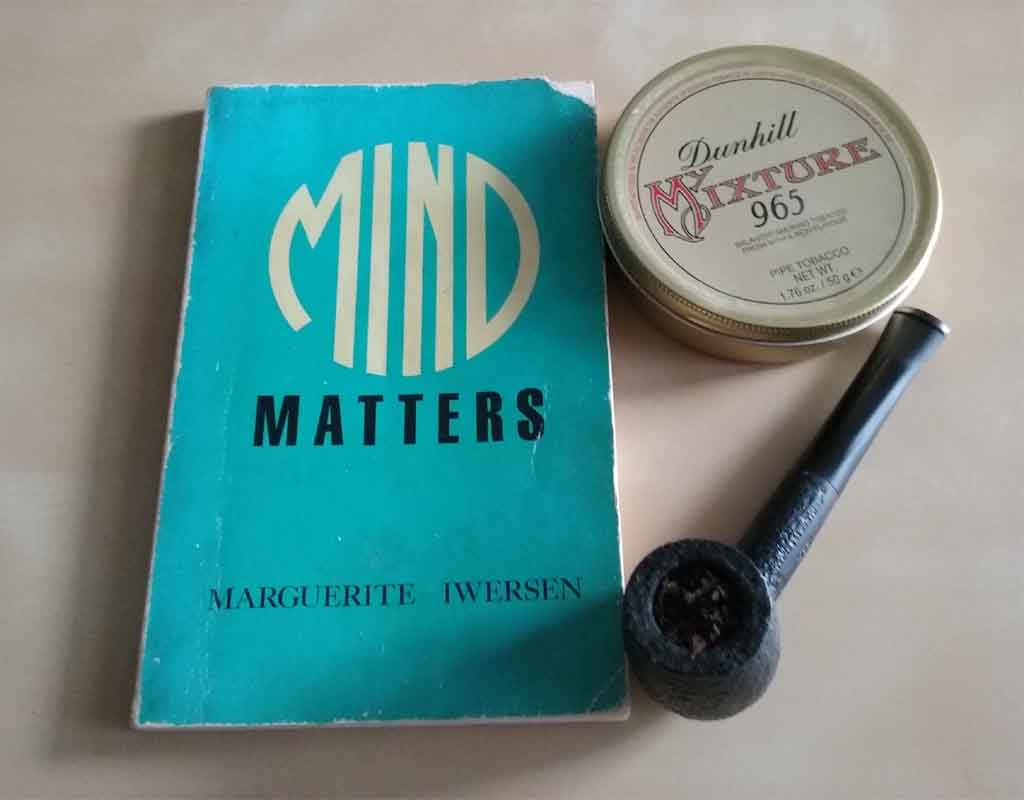
- Starting out. Get a corn cob pipe and some light OTCs like Prince Albert, Carter Hall, or Sir Walter Raleigh. Do not get aromatics like Lane 1-Q and Captain Black; they are actually difficult to smoke well and more likely to burn your mouth, since they are heavily sugared. A cob is nearly disposable and so your errors cost you little, and you do not have to navigate buying an expensive pipe without knowing what you are looking for. (Retailers would prefer that you do the opposite: buy aromatics, buy several expensive pipes, and then give up on the hobby; they make more from that first $500 sale than most daily pipe smokers will provide over a decade.)
Spend a year learning how to smoke: learn to breath smoke, pack the bowl, emberchase/tamp (using the tamper to direct oxygen to the sides of the bowl), clean the pipe, and avoid setting yourself on fire. Then order a bunch of 1oz samples of major tobacco blend types like Burley, Va/Per, English, and so on. Whatever you find yourself reaching for time and again should be explored further. Until you are a proficient smoker, you will not learn how to taste the difference between blends; until you can taste the difference, you will have no idea what you like.
Again, keep in mind that retailers and online wholesalers profit from your ignorance. They make more money off of someone who flails around furiously buying pipes and blends and then ragequits pipe smoking than they do off of someone who follows the advice in this column.
- Tamping. Most of the time, you want a gravity tamp, which means lightly dropping the tamper from a centimeter off of the ember. You also want to chase that ember, which means holding the tamper over the coal so that the air going into the pipe distributes to the sides, causing a nice even burn.
- Pacing. People call it “puffing” and “smoking,” but really what you are doing is breathing normally through a pipe but keeping the smoke in your mouth. Once you learn the rhythm of inhaling/exhaling every seven seconds or so, you can keep even a moderate bowl going for over an hour.
- Packing. With ribbon cut, you want to take a nice thick wad that is wider than the mouth of the bowl and cram it in so that the last third or quarter of the bowl is empty, then loosely stuff tobacco on top of that. You do not need to press down much; you are aiming to evenly distribute the leaf in the top two-thirds or three-quarters of the bowl — it varies between pipes — instead of compressing it fully. With flake, you want to fold it lengthwise, then twist so that a few openings appear in the flake, then stick into the pipe so that there is horizontal room for it to expand when it burns. Most “bad bowls” originate in packing too tightly. You can also screw up by packing too lightly, but the only consequence there is a fast bowl that requires dozens of relights, and that is a better experience than a congested bowl. You should not have to suck, draw, etc. with any kind of force; air should flow naturally through the pipe as you breathe.
- Lighting. I am less of a technicalist here; I torch the bowl with a lighter or match, gravity tamp it to compress the top layer of ash, and then torch it again. The point is to make a thin top layer of tobacco burn evenly so that the fire descends slowly as the bowl diminishes, since what you are doing is using the insulating property of the pipe and the top layer of ash to create a constantly smoldering but not blazing heap of tobacco. Much of the flavor comes from cooking the tobacco right below the layer of fire.
- Cleaning. After every smoke, run a pipe cleaner both ways up the tenon. Then fold it in half and vigorously sweep out the bowl. If it makes you feel better, use a paper towel to clean out the remaining ash dust. I let pipes sit a day or so between smokes, but on the road, I use the same pipe for a few bowls at a time. After about four it needs some time to dry out unless you want to puff a swamp bowl. Every few months, pour some cheap whisky through the pipe. I never use any alcohol inside the pipe that I could not consume; I use whisky or EverClear instead of rubbing alcohol for this reason.
- Jarring. If you have a packet or tin and are going to consume it within the week, just use that, resealing each time. If you plan on taking longer, get yourself a Mason jar and seal the contents in there. When I buy bulk, I use lots of half-pint jars to store the tobacco, labeled carefully. That way, you can take one off the shelf in the coming years and smoke it as you would a tin. For rare tobaccos, it makes sense to keep some in jars so you can have a bowl or two on a special occasion. You can use bail-top jars if they are designed for food; make sure you flip the insulating liner away from the clamp mechanism so that the jar has an even seal. If you have a question about a jar, fill it with water, seal it, and turn it upside down for an hour. If any water leaks, throw it out.
- Cellaring. In my view, G.L. Pease is correct and most tobacco blends benefit from a year or two of storage in a cool, dark place. Some peak after only six months. While people talk up aged tobacco, much of this has to do with the original quality of the blend, and the tendency to lose toppings and some of the smokiness of dark-fired and Latakia leaf. Most blends do quite well after a year, and beyond that point, the utility of cellaring declines.
- Mold. Mold is fuzzy stuff; plume is crystalline. If it molds, throw out everything in the container. If it plumes, expect a slightly sweeter smoke. In my view, much of what makes plume valued is that certain chemicals which impede flavor and nicotine absorption have left the leaf, making it gentler and warmer in flavor.
- Cake. You want to keep cake about the thickness of a dime in your bowl. This will happen naturally, and you will have to use a reamer, sandpaper, or (for the lazy) your Czech pipe tool or pipe nail to scrape out the extra, something best done when the pipe is just smoked so it is warm and damp and the cake is soft and malleable. Too much cake will cause your pipe to crack; too little cake reduces the insulating properties of the pipe. I use Virginia blends to build cake, but anything with sugar will do.
One final note: “Smoke what you like, and like what you smoke” is not merely lore. People vary in mouth pH and susceptibility to certain leaf; for example, some smokers get hit hard in the gut by smoking Burley. Find out what works for you, order a lot of it on sale (usually the end of summer), and have a good time. Pipe smoking is a combination of hobby, habit, lifestyle, and mental stimulus. Only you know what works for you, but you have to pay attention to what you do, not what you think you should do. I found a few of my favorite blends simply by noticing that the tins got empty fast, but would not have said those were favorites until I observed myself liking them. In the same way, I have had some pipes, both cheap and expensive, that I never thought were special until I observed that I was reaching for them repeatedly. Good luck and have fun.
Tags: nicotine, pipe smoking, pipe tobacco, smoking pipes, smoking tobacco, tobacco

Why not how to suck dick? A lot more protein rich
Send all submissions to editor@deathmetal.org!
sry I’m too busy sucking every homo in Tennessee – love that concentrated southern stuff. Thanks for the offer tho
https://fairtradetobacco.com/
Lots of do-it-yourself tips here using leaves ready to roll, cut, or use in chew.