Guest post by Brian Parker.
For those of you that enjoy a cigar now and then, probably never tried to roll your own. It’s fun, inexpensive, and you learn a lot about the craftsmanship that goes into the cigars you buy at your local cigar shop. I was lucky enough to have a friend drop off a bunch of cigar tobacco to me that he had ordered from LeafOnly.com (see also Whole Leaf Tobacco).
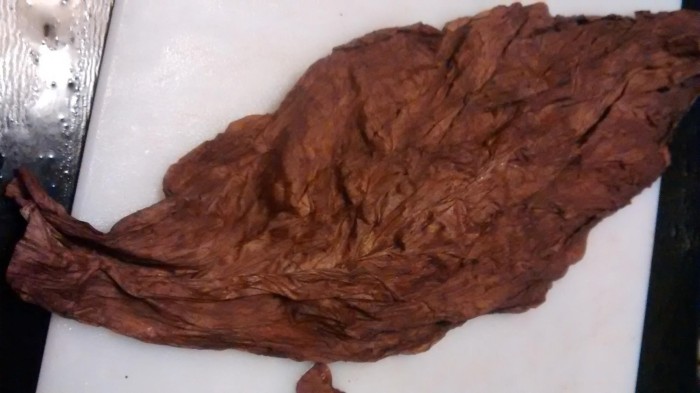
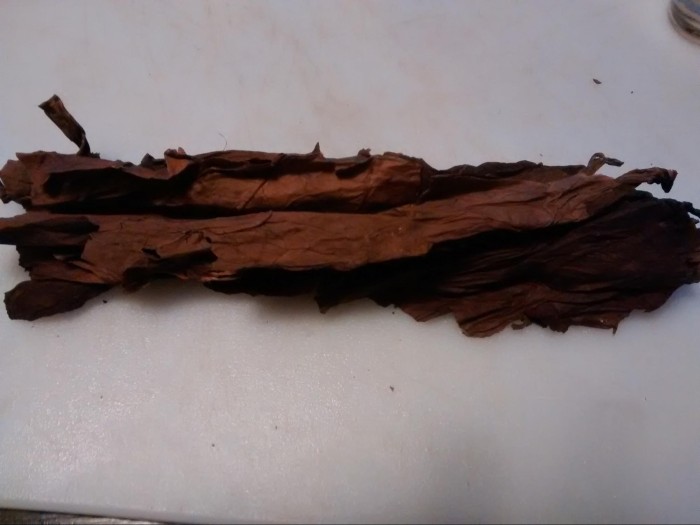
I was very eager to roll a cigar, but when I first opened the box to check out the tobacco leaves, I noticed the leaves were very dry. I thought maybe they were too dry to work with, and then I read online that that’s how they are shipped. They must be re-hydrated, stretched out and trimmed. Below is a step-by-step guide to rolling your own cigars.
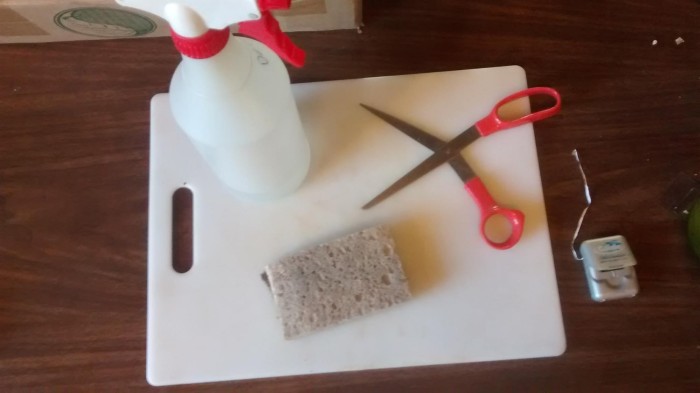
Supplies needed:
- Fruit pectin (found in the canning/baking section of grocery store, used for glue)
- Scissors
- Spray Bottle of distilled water
- String (optional, I use dental floss)
- Flat surface (I use a cutting board)
- Sponge (optional, I just use my hand)
- Whole leaf tobacco (filler, binder and wrapper leaves)
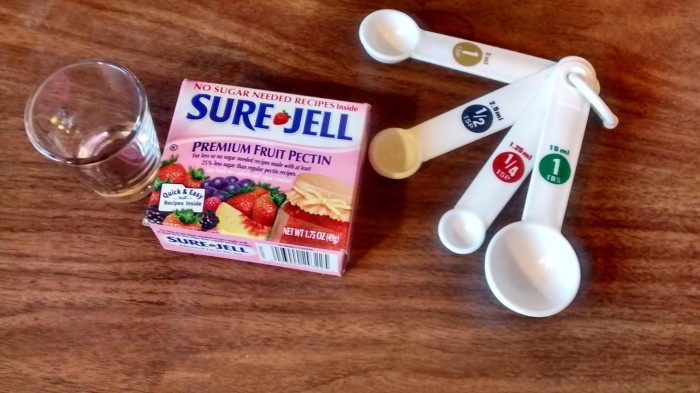
Making the cigar glue. In a shot glass, add 1tsp of pectin and then add ¼ tsp of distilled water. Stir with a table knife and keep adding ¼ tsp of water until it’s nearly clear and sticks to the knife.
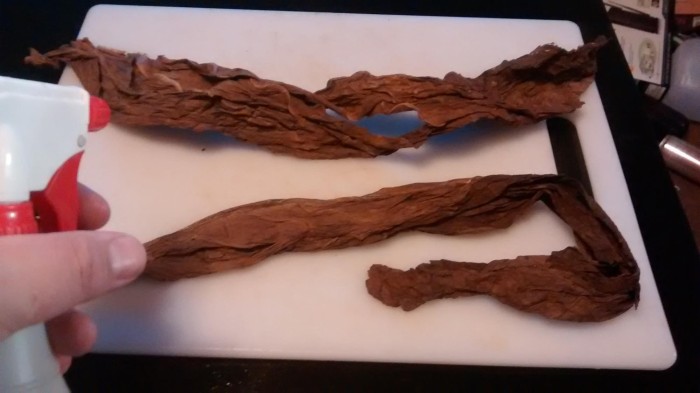
Step 1: Hydrate
Pick out about three leaves of filler, 1 binder leaf, and 1 wrapper leaf. On the wrapper leaf, be sure to find one with minimal tears and holes. Start with the filler leaves and spray each side lightly with water and set aside. Just one easy spray on each side will due. We just want the filler leaves wet enough that they don’t crumble apart when we bend them. The binder and wrapper leaves you want to get a bit more wet. Once you have both sides of the binder and wrapper leaves wet, put them aside and wait about ten minutes for the leaves to absorb the water.
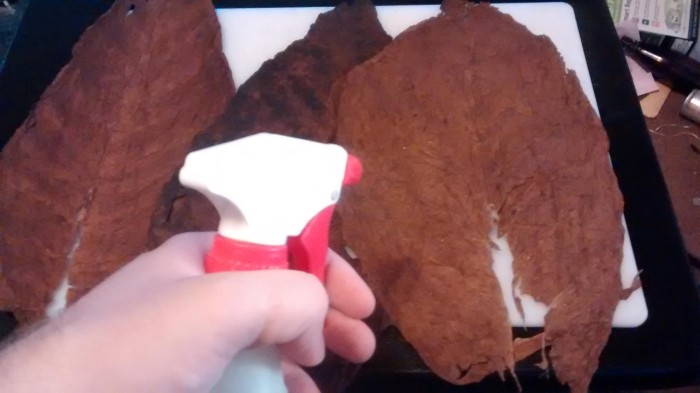
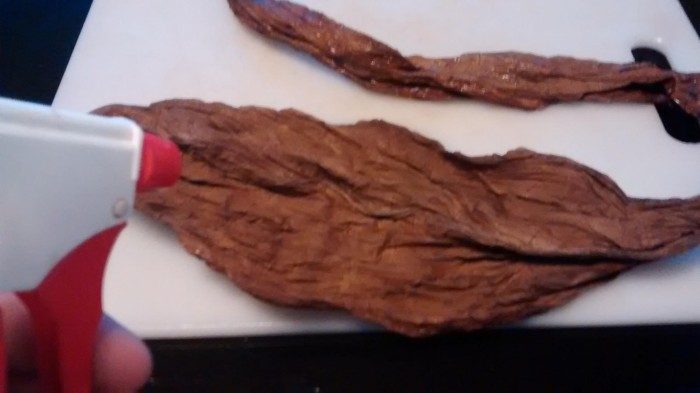
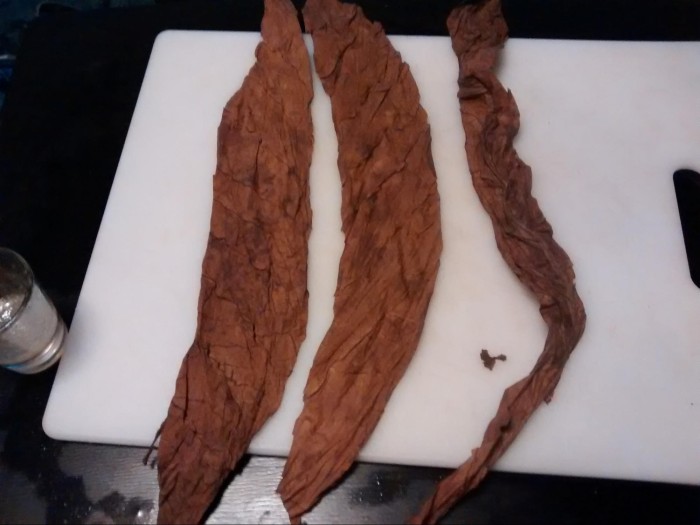
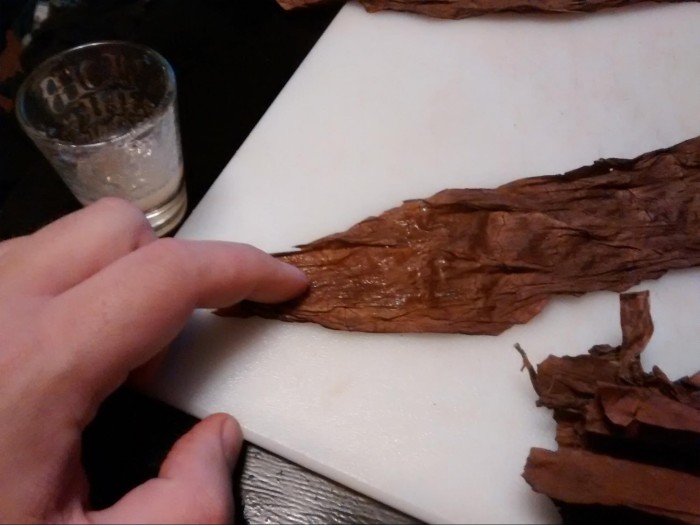
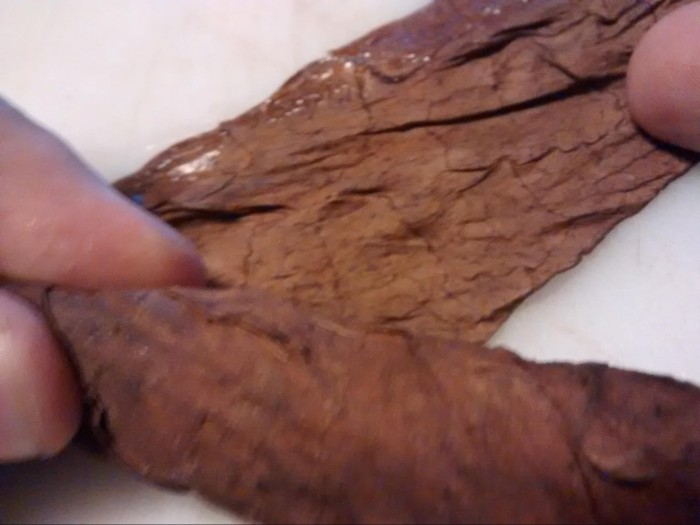
Step 2: Stretch and Examine Leaves
After you’ve waited ten minutes, gently grab the binder leaf, and slowly stretch it out. Be sure not to crack it; if it’s too resistant, give it another spray of water. You may have to do this a few times. Slowly fan it out until it starts looking like a full leaf. Do the same with the wrapper leaf. On the wrapper leaf, keep an eye out for holes and tears. If both the right, and left sides of the wrapper leaf have tears, use another wrapper leaf.

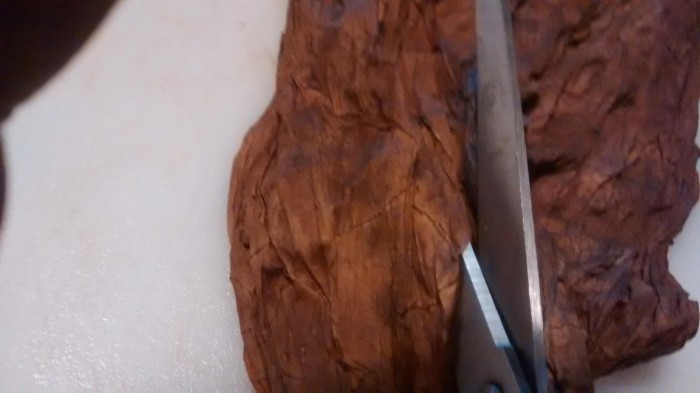
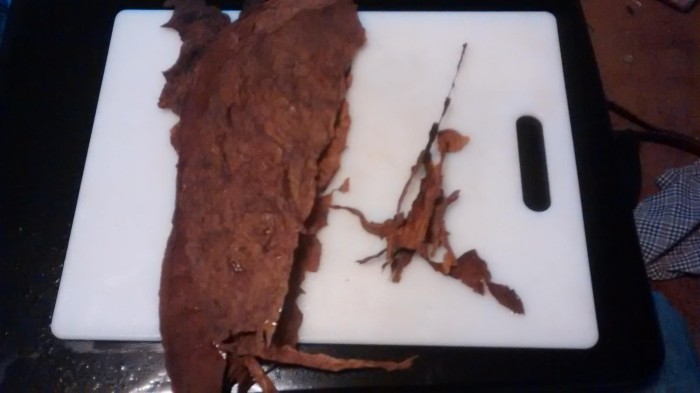
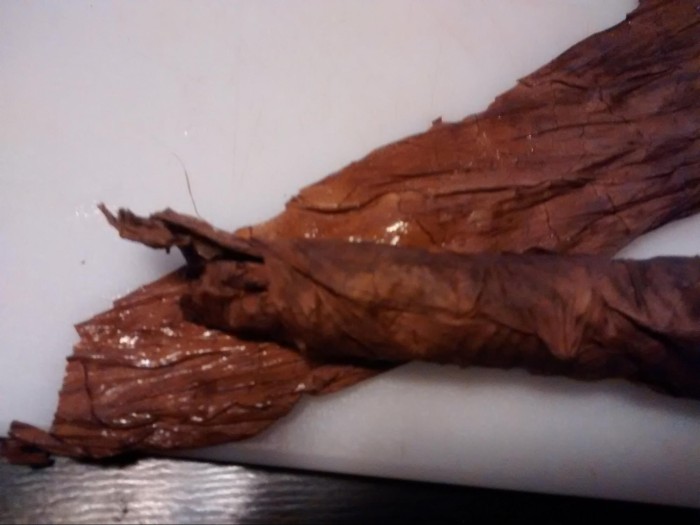
Step 3: De-vein and Trim Leaves
We don’t want that big, single vein that runs down the middle of the leaf. It can cause uneven burning and looks bad. With the filler leaves, fold the leaf in half, then grab the vein near the top, and pull it to the stem. You should be left with two halves of the leaf. With the binder and wrapper leaves, cut from the bottom to the top of the leaves, leaving some of the thick parts of the veins aside.
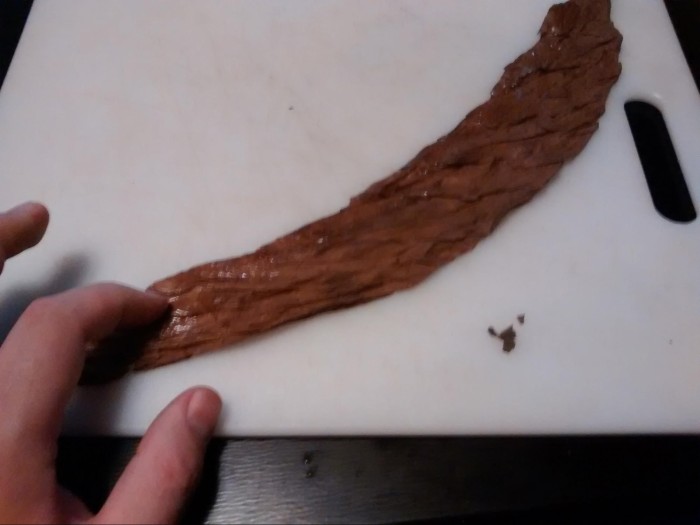
Step 4: Rolling the Binder
Gather up your filler and with both hands, roll and squeeze them into a general cigar shape. This does not need to be neat, or tight, just need the general shape. It should be about two fists long. Next, break them in half by simply tearing them with both hands. Next, combine them both into one, and try to make them even, so that they feel like they would make an even gauge cigar. Now lay out a binder half, with the veins facing up. Add a bit of the glue to the end of the binder by dipping your finger in the glue, and wiping it on the leaf.
Be liberal; you can even spread it down the leaf. Grab the bunch of filler and place it over the wrap diagonally so you can roll forward. Gently spread out the wrap, while rolling the wrap around the filler. Do not roll too tight. You still want some give when you squeeze it. A cigar that is too tightly rolled will give you a bad draw. It doesn’t have to look great at this point. Once you are close to the end, add more glue to the binder so it holds together.


Step 5: Wrap, Cut, and Wrap Again
Since I am new to this hobby, I like to have two wraps on my cigars. I tend to have small tears or holes in my wraps, so to make it look nicer, I use two wraps. This means I am using both halves of a single wrapper leaf. Make sure your wraps are trimmed, and stretched out as much as possible. First use the wrapper half that may have a little more damage than the other, and start with that one. Do the same as you did with the binder. Veins up, add glue to the end, and roll.
While you roll, use one hand to roll, use the other to spread out the leaf. The wrap is made to look nice, so we want it to be as smooth, and wrinkle free as possible. Once you have it wrapped nicely and are ready for the second wrap, trim both ends with a cigar cutter or sharp knife. This is to give it that cigar shape. On your second wrapper leaf, leave some extra hanging off both ends. Add lots of glue to this one as we don’t want any bubbles or it to come apart. Roll it up tightly, careful not to tear the wrapper.
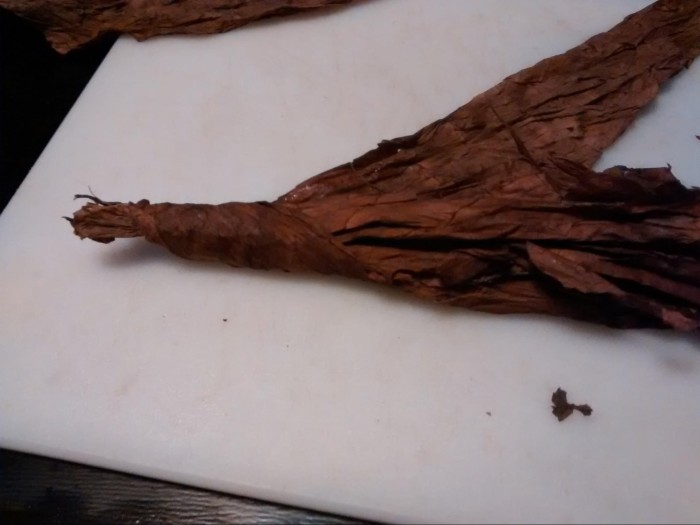
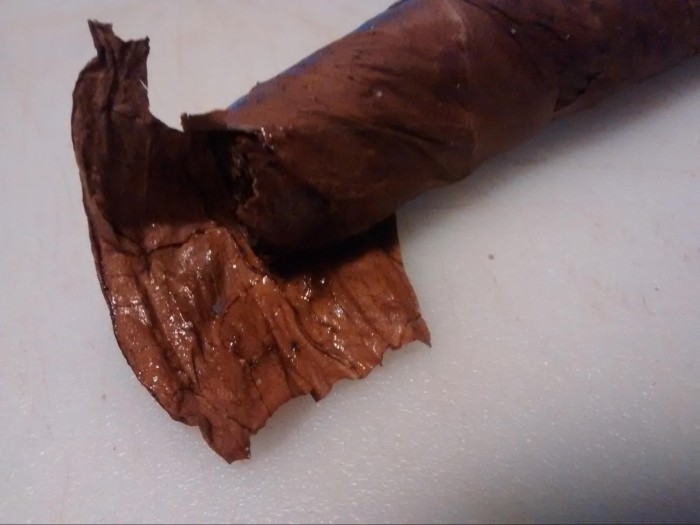
When you get near the bottom, add lots of glue and with the remaining wrapper, twist it and add some glue to the outside. It’s OK if it looks a little messy on the end, that part will be cut off before smoking. If you don’t have enough wrap left to leave the twist, use your string to tie a knot around the cigar to hold it in place. You can attempt to make a true cap, but I am not good enough to attempt that.

The second wrap will cover up that crack.
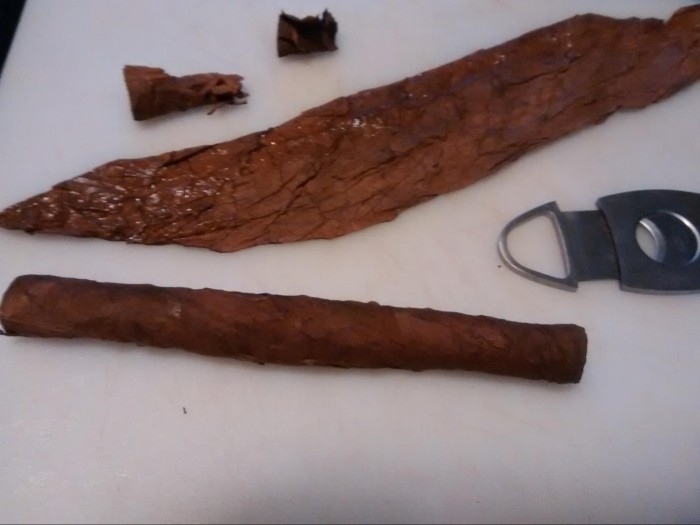
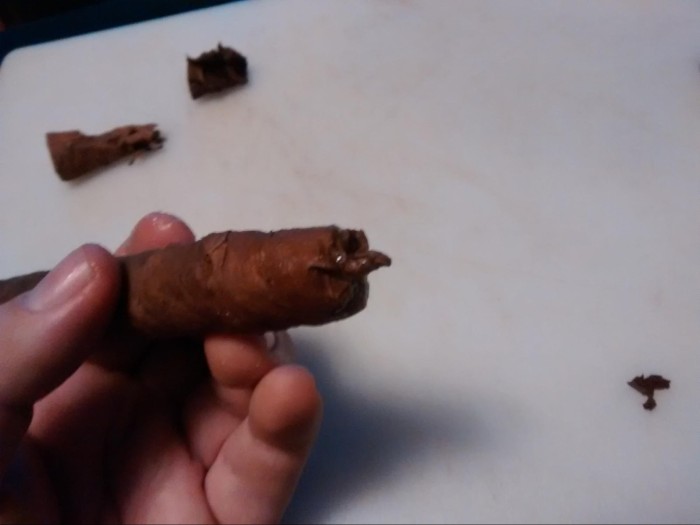
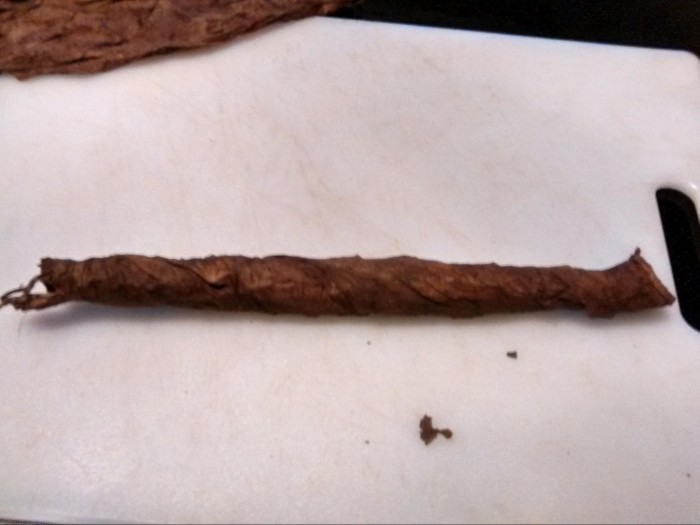
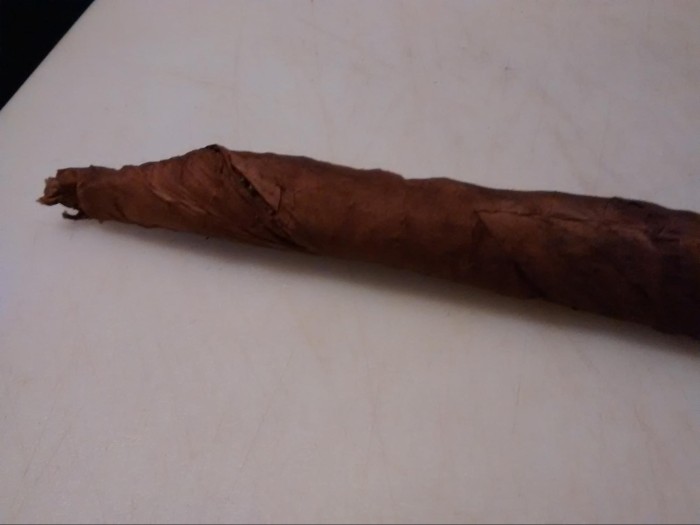
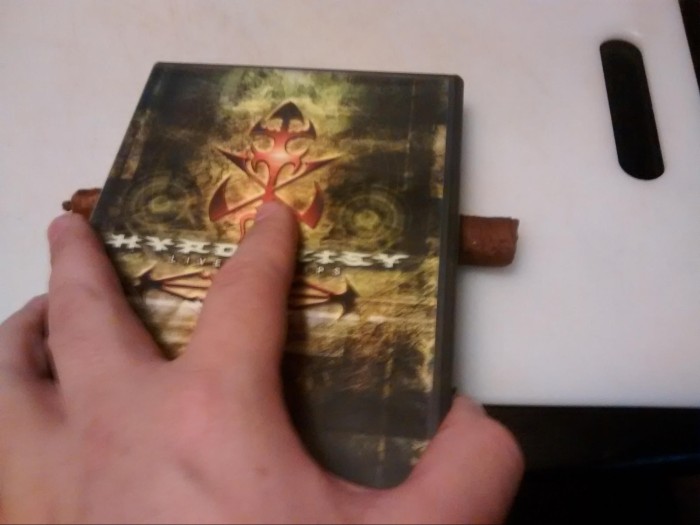
Step 6: Smooth, Dry, Trim
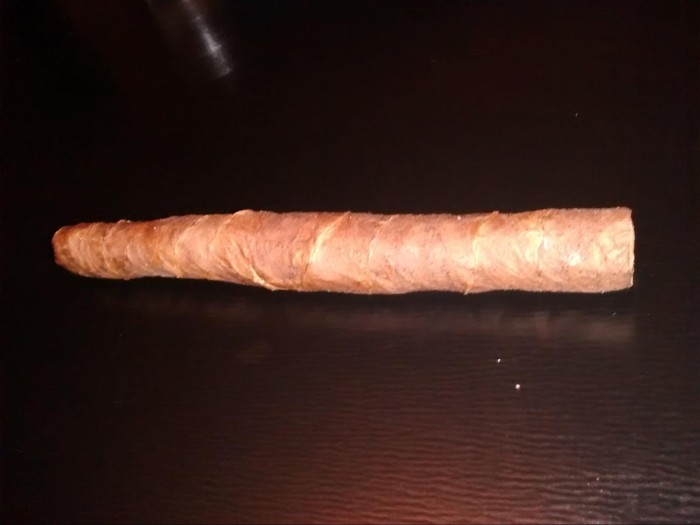
Now you are left with what looks like a cigar. In order to make it better looking, lay the cigar on a flat surface, and gently roll a flat object over it. In the picture below, you can see I used a DVD case. This helps smooth the wrapper and push veins down. You can do this a few times a day. Let the cigar dry. Don’t put it in your humidor or a Ziploc bag. Leave it out for at most 2-5 days, depending on how wet you got your leaves. If they feel damp, let it sit. Finally, trim off any excess tobacco from the foot of the cigar (the part you light).
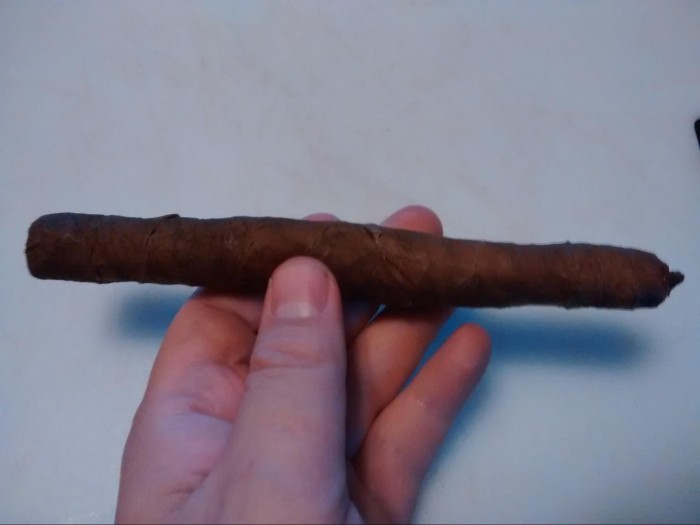
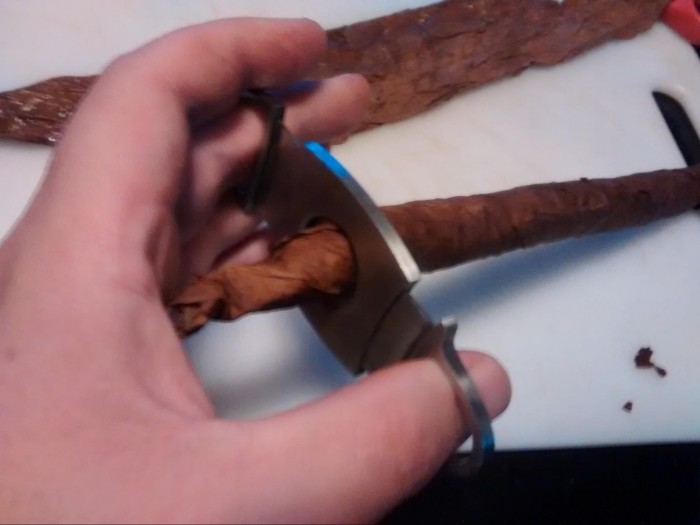
Step 7: Cut, Light, Enjoy!
Use a cigar cutter, or a sharp knife, to cut off the end. Just cut off about ⅛ of an inch. I like to light using a torch lighter, but not let the direct flame come in contact with the cigar. Instead, let the heat of the flame slowly heat up the cigar, while slowly spinning the cigar to get an even burn. I also recommend pairing with a nice single malt scotch whisky. I am really fond of Glenmorangie 12 right now and is sweet and mild enough to not override the cigar.
Brian Parker has been a metalhead for over two decades and has created and nurtured the San Diego Metal Swap Meet since 2009.
6 CommentsTags: cigar-making, cigars, natural tobacco, raw tobacco, tobacco, tobacco leaf